How to Check and Replace Your Printer’s Ink Waste Tray Absorber Pad
Published: May 26, 2026
The ink waste tray absorber pad (also called a waste ink pad or maintenance box) collects excess ink during printhead cleaning, borderless printing, and ink priming. When full, it triggers errors, stops production, and risks ink leakage. This guide shows you how to inspect, replace, and reset it safely—from a professional printing consumables perspective.
What Is the Ink Waste Absorber Pad?
It’s a sponge‑like component inside inkjet printers that soaks up unused ink. Most printers track usage via a waste ink counter. When full, you’ll see warnings like:
- Waste ink pad full
- Service required
- Ink absorber end of service life
- Error codes such as 5B00 (Canon) or 000031 (Epson)
Signs Your Waste Ink Pad Needs Replacement
- Printer locks or pauses printing
- Visible ink leakage near the paper path
- Persistent maintenance warnings
- Nozzle cleaning becomes less effective
- Smearing or ink buildup on output
How to Check the Waste Ink Absorber
- Check the printer display or driver for maintenance alerts.
- Look for a maintenance box (user‑replaceable on many Epson/HP wide‑format models).
- For internal pads: access the service menu to view the waste ink counter percentage.
- Inspect for leaks, dampness, or overflow around the pad area.
How to Replace the Ink Waste Absorber Pad
For Models with a User‑Replaceable Maintenance Box
- Power on the printer and follow on‑screen replacement prompts.
- Open the maintenance cover (usually near the ink bay or scanner unit).
- Remove the old maintenance box and dispose of it properly.
- Insert the new box until it clicks securely.
- Close the cover; the printer resets the counter automatically.
For Internal Waste Ink Pads (Service‑Only Models)
- Power off and unplug the printer; wait 15 minutes to avoid electrical risk.
- Remove covers to access the internal waste tray (refer to your service manual).
- Carefully extract the saturated pad; wear gloves to avoid ink stains.
- Clean the tray with isopropyl alcohol and dry fully.
- Install a new replacement pad in the original layered order.
- Reassemble the printer.
How to Reset the Waste Ink Counter
After replacing the pad, you must reset the counter to clear errors:
- Connect the printer via USB (Wi‑Fi often fails for reset tools).
- Use the official or model‑compatible adjustment program.
- Select Waste Ink Pad Counter → Check → Initialize/Reset.
- Restart the printer.
Note: Some brands (Canon, Epson) restrict user reset; certified service may be required.
Pro Tips to Extend Absorber Life
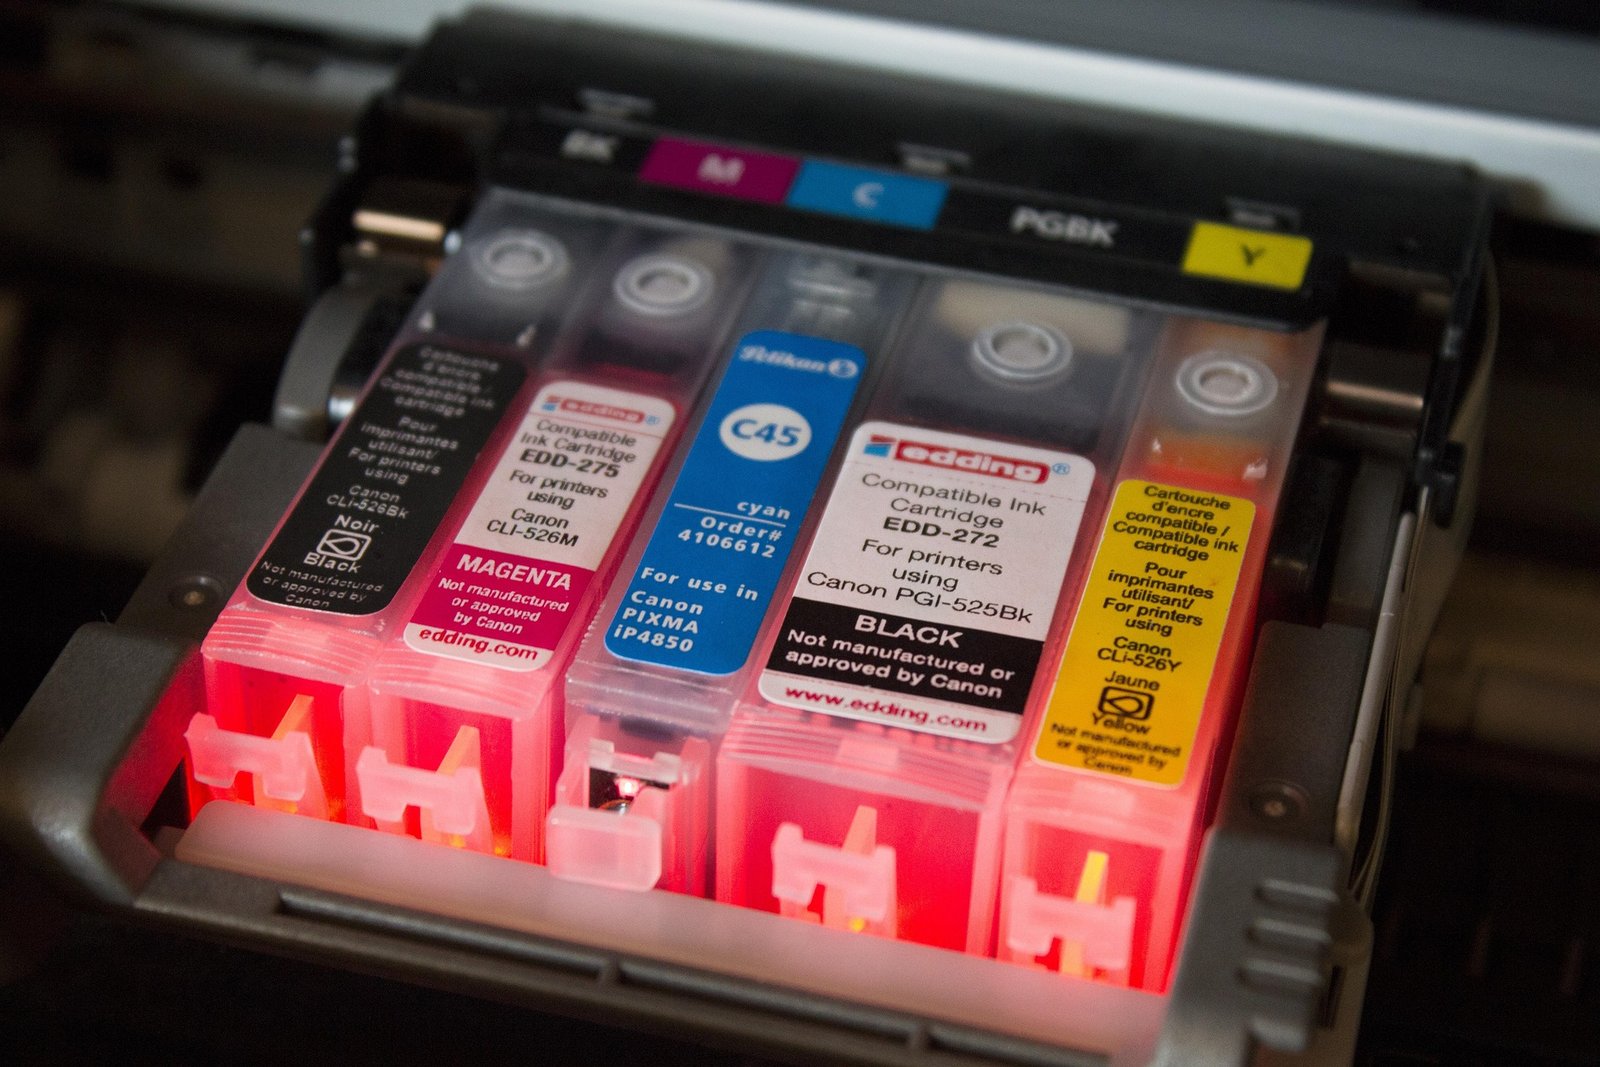
✅ Use high‑quality ink to reduce cleaning frequency and waste.
✅ Print regularly to avoid repeated cleaning cycles.
✅ Avoid excessive borderless printing (uses more waste ink).
✅ Consider an external waste ink bottle mod for high‑volume shops.
✅ Replace pads before overflow to avoid damaging printheads or boards.
Enlite Professional Insight
As a manufacturer of stable, low‑waste printing consumables, we know:
Poor‑quality ink causes excessive cleaning and faster pad saturation.
Using reliable ink cartridges and inks reduces waste, lowers maintenance costs, and extends the life of your waste absorber system.
Final Notes
A full waste ink pad doesn’t mean your printer is broken—it just needs routine maintenance. Replace the pad, reset the counter, and resume production safely. Always use compatible replacement parts to protect your printer and avoid leaks.